
-
1. Introduction
-
2. Main Feature
-
3. Run Project
-
4. Customizer
-
5. Structure
-
6. Dependencies
-
7. Form Contact
-
8. Credits & Official
-
9. Support
-
10. Change Log
Healingy - Therapy & Counseling Psychologist React NextJS Template
- Version: 0.1.0
- Create: January 24, 2025
- Last Updated: January 24, 2025
In this document, we provide all kinds of good information with all the details you need to use our template. We hope you have fun and enjoy working with our template
If you have any question need support create ticket id https://themesflat.ticksy.com/ I will ready support for you. Thank so much
Getting Started
Introduction
Healingy is the perfect React NextJS template designed specifically for therapy and counseling services. With its clean, calming, and soothing design, Healingy offers the ideal platform to promote your mental health services and connect with clients in a compassionate and professional manner. The template is built with user experience in mind, providing easy navigation and intuitive features that allow potential clients to find the help they need quickly.
Features
Below are some features of this web app template:
- Utilizes React 18 and NextJs 13 technologies
- 04 Home Pages
- HTML5 & CSS3
- Free Google Fonts
- Detailed Documentation
- Super Clear and Clean Layout
- Fully responsive and mobile friendly
- Pixel Perfect
- Every page is fully layered and organized with proper names
- Coded to be developer friendly
- Free Font Based Icons
- Retina Ready
- Complete Mobile UI App
- Excellent Support
- Cross Browser Compatible
- And many more…
Installation
System Requirements: With react template
- Node.js Version lower 18.xx from 16.14 later.
System Requirements React Next JS: System Requirements:
- – Node.js 16.14 or later.
- – macOS, Windows (including WSL), and Linux are supported.
Check Node Version
Open Terminal using the command: node -v. You can install multiple versions of node and use NVM manager version node link: NVM manager in case of error can’t change verion Node. handle the following way:Cause the folder nodejs:C:\Program Files\nodejs does not have overwrite permissions
- 1: Rename folder nodes to nodejsx
- 2: Open Terminal using command: use node version then windows will recreate the file nodejs
- 2: node -v check again
Run Project
1. Download and install Node.js and NPM : You can download Node.js from https://nodejs.org. NPM comes bundled with Node.js.
2. Purchase Item: After purchase from Envato you have folder itemname-package Extract i have folder itemname. You please copy file go to D:/itemname
3. Use cmd with Windows Terminal : Go go the folder D:\itemname Type command: npm install –> npm run dev
4. In your browser navigate to http://localhost:3000
5.Thats all! Now you should see your site.
For the case Visual Studio Code Open Folder Project (open Visual Studio Code) => Open Terminal (Ctrl + `) => Type command: npm i (or yarn) –> npm install (or yarn install)
To learn more about Next.js, take a look at the following resources:
- Next.js Documentation – learn about Next.js features and API.
- Learn Next.js – an interactive Next.js tutorial.
How to customizer Template
Instructions below help you to change the content, custom css and js for the template
- Update the content for template
- Edit CSS for template
- Edit Data for template
- Set router link for page
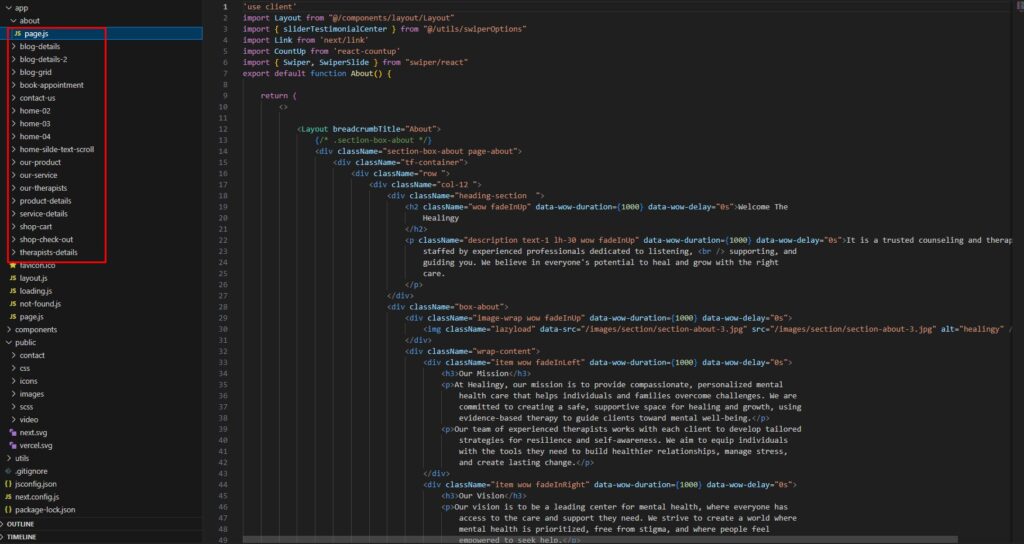
- Edit component, js
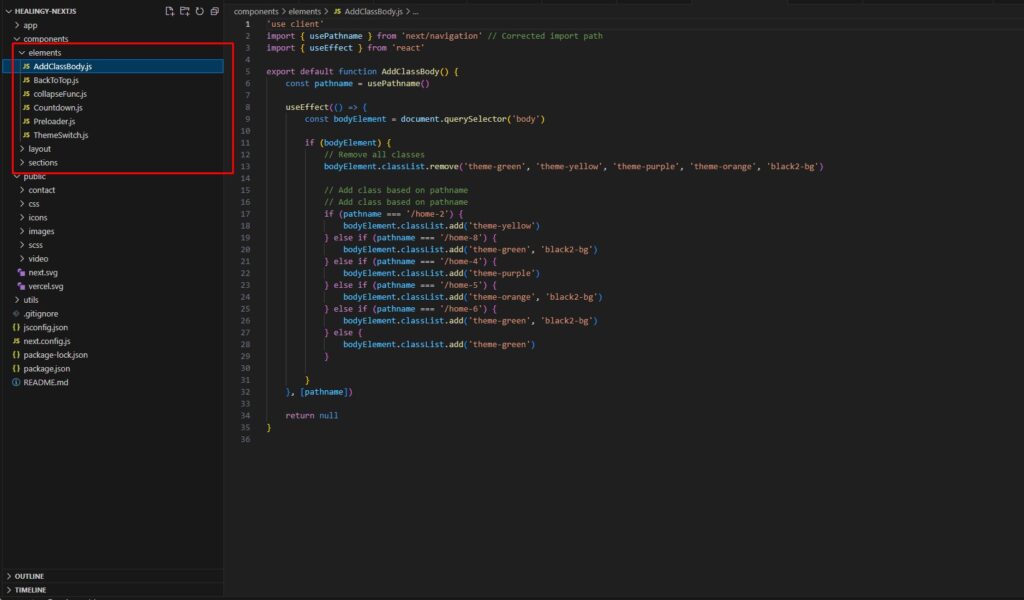
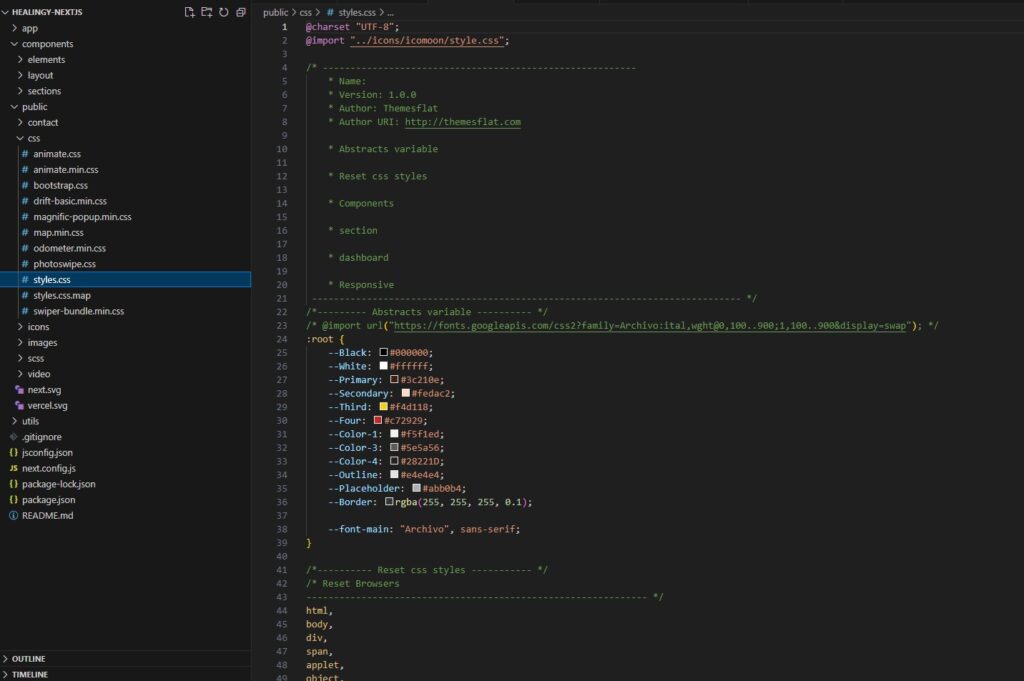
Structure
Instructions below help you to change the content, custom css and js for the template
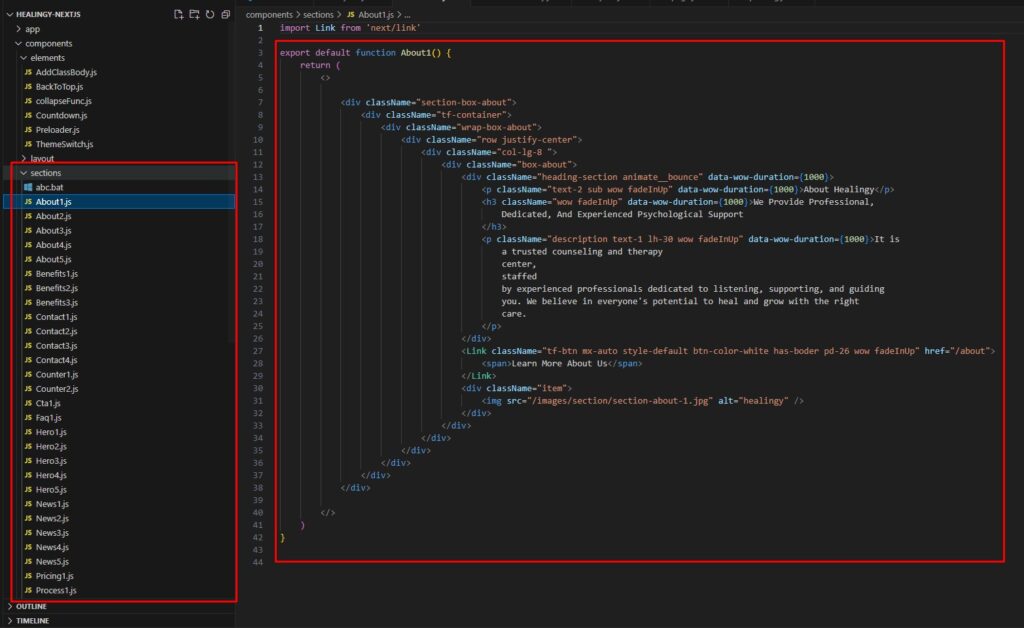
File & Folder Structure
Healingy
├── components
│   ├── elements
│   ├── layout
│   ├── sections│
├── public
│    ├── contact
     ├── css
     ├── icon
     ├── images
     ├── scss
     ├── video
├── util
├── jsconfig.json
├── package.json
└── next.config.js
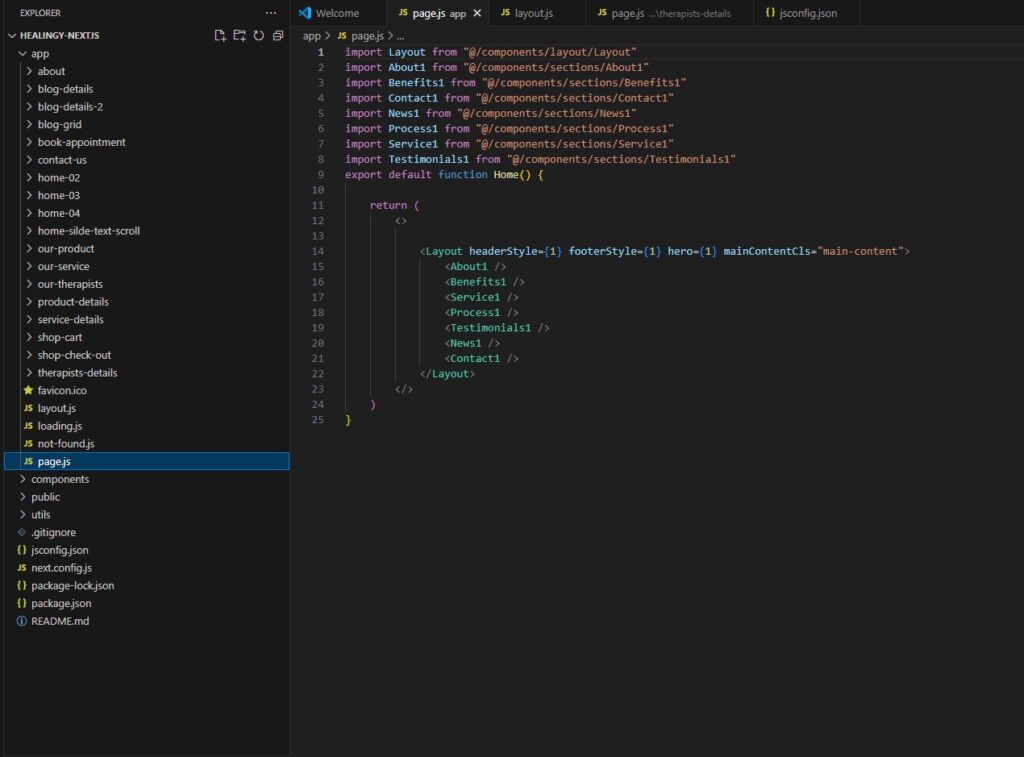
_app.js structure
import Layout from "@/components/layout/Layout"
import About1 from “@/components/sections/About1”
import Benefits1 from “@/components/sections/Benefits1”
import Contact1 from “@/components/sections/Contact1”
import News1 from “@/components/sections/News1”
import Process1 from “@/components/sections/Process1”
import Service1 from “@/components/sections/Service1”
import Testimonials1 from “@/components/sections/Testimonials1”
export default function Home() {
return (
<>
<Layout headerStyle={1} footerStyle={1} hero={1} mainContentCls=”main-content”>
<About1 />
<Benefits1 />
<Service1 />
<Process1 />
<Testimonials1 />
<News1 />
<Contact1 />
</Layout>
</>
)
}
Dependencies
{
    "name": "name",
    "version": "0.1.0",
    "private": true,
    "author": "author",
    "scripts": {
        "dev": "next dev",
        "build": "next build",
        "start": "next start",
        "lint": "next lint",
        "sass": "sass --watch public/assets/scss/main.scss:public/assets/css/main.css"
    },
    }
}
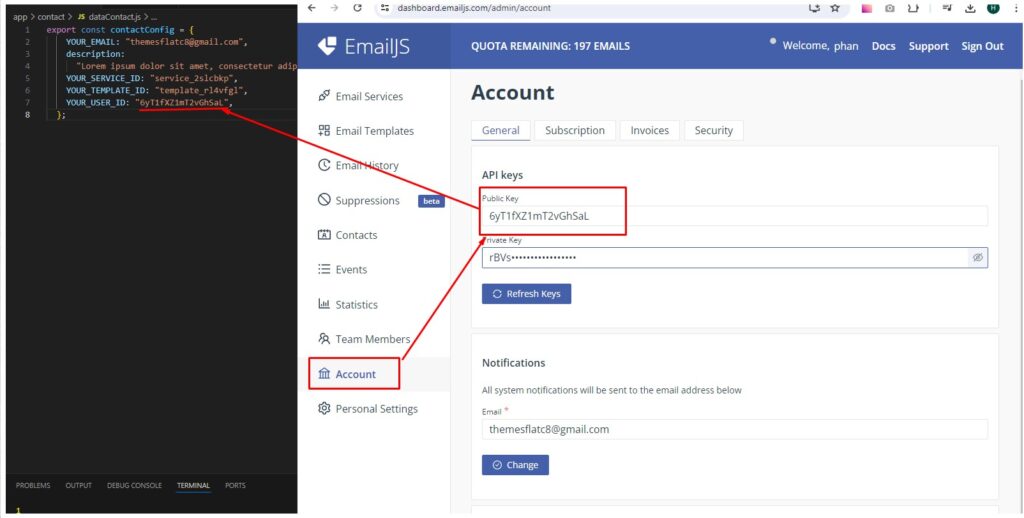
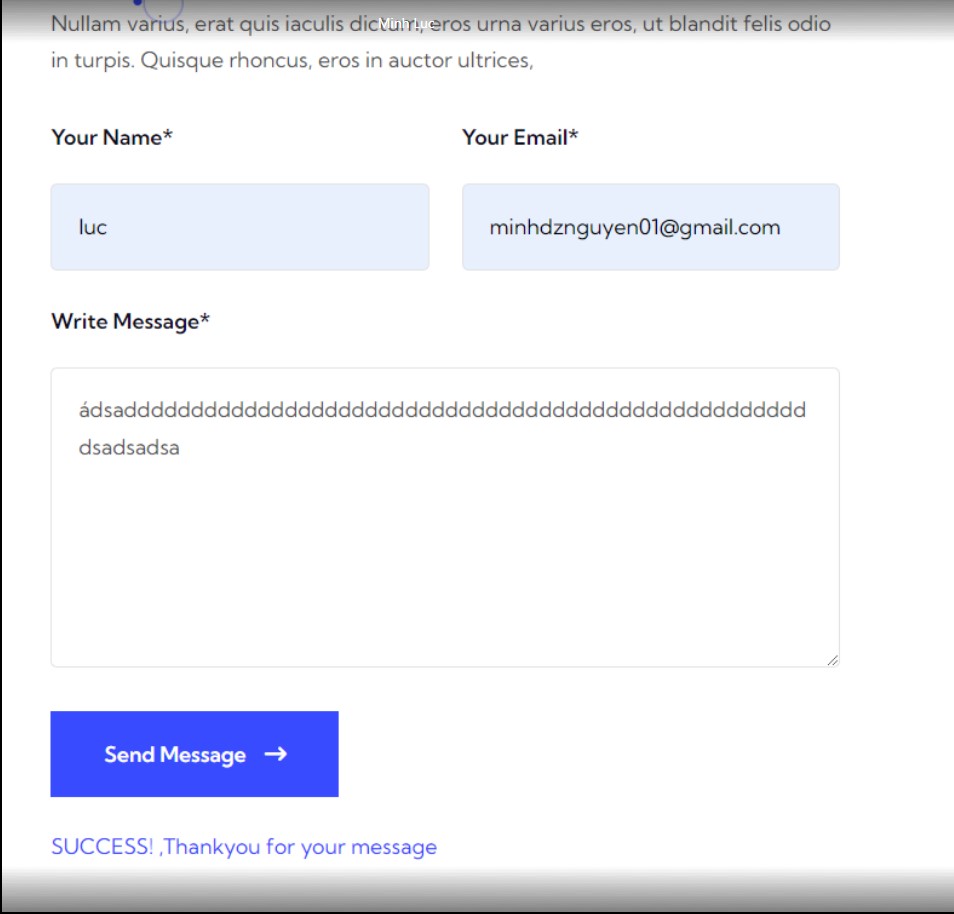
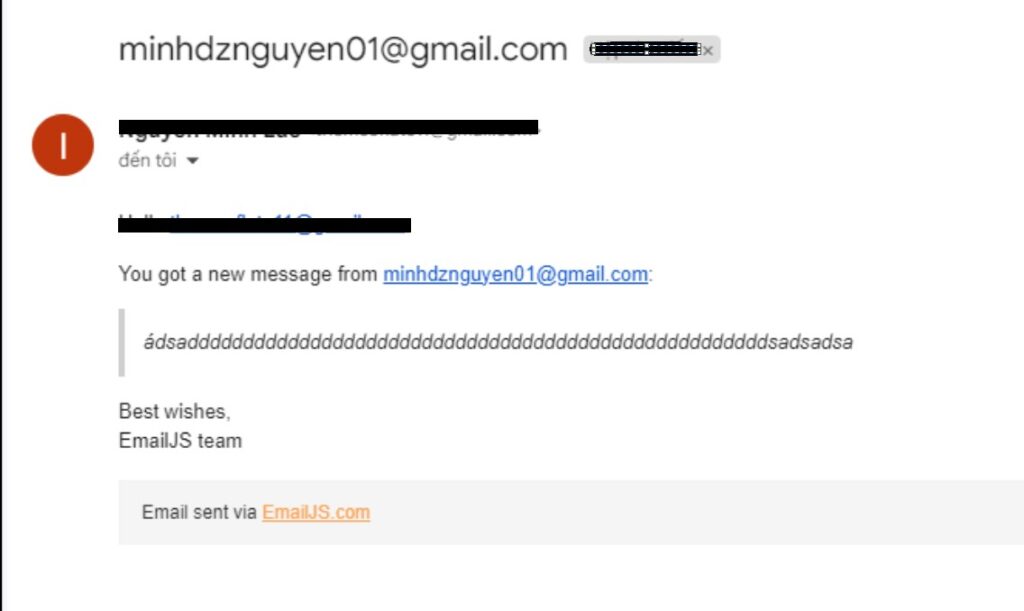
How does the contact form work?
In order for the contact form to send email in nextjs, we need to use https://www.emailjs.com/
- Creat Account
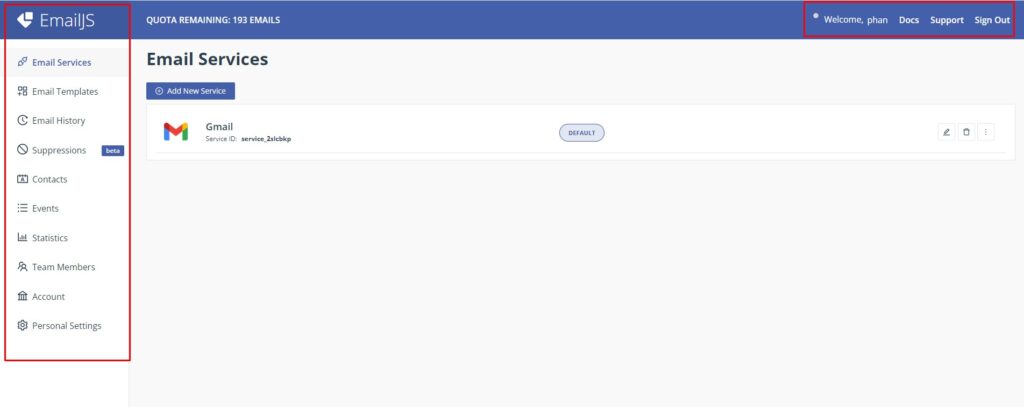
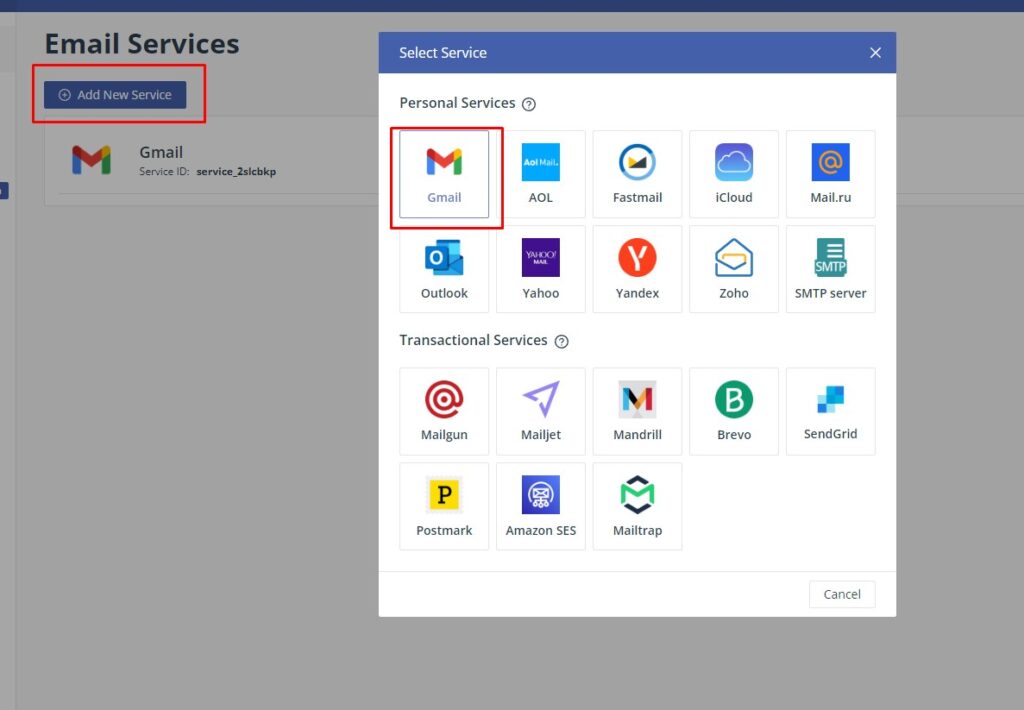
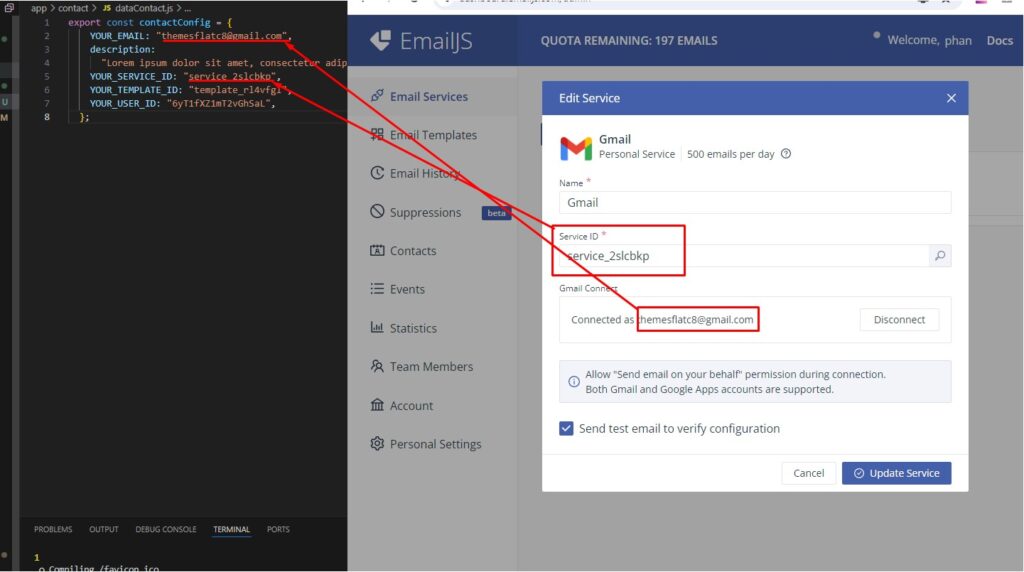
- Creat Email Services: Add New Services -> Choose gmail -> Creat Services
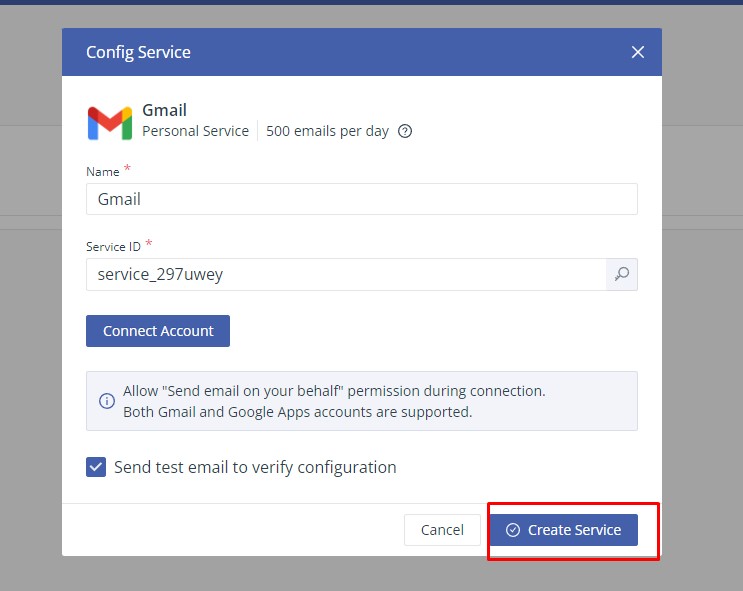
- Connect Account Gmail

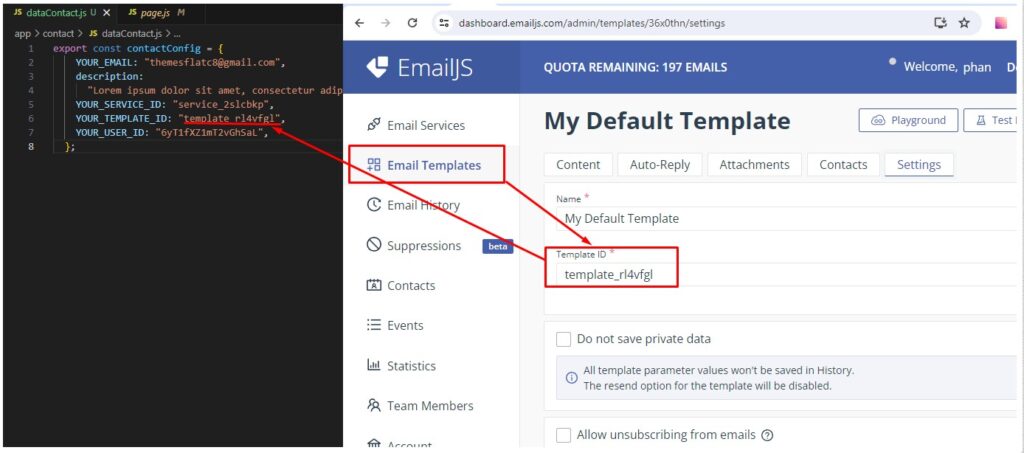
- Creat Email Templates (similar to email services): Add Email Templates -> Choose Save
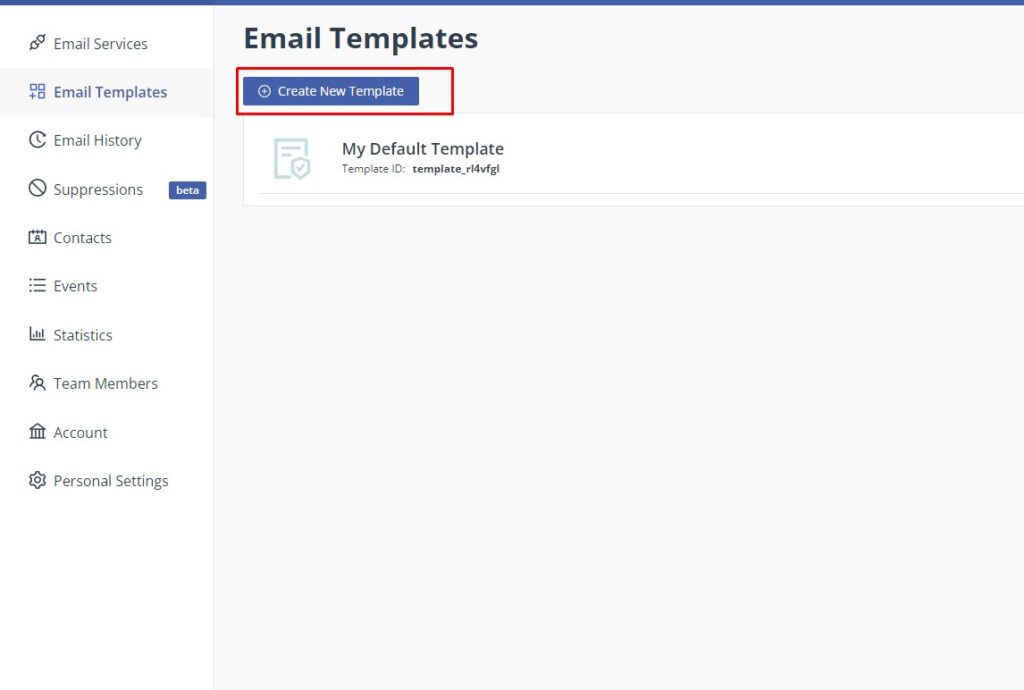
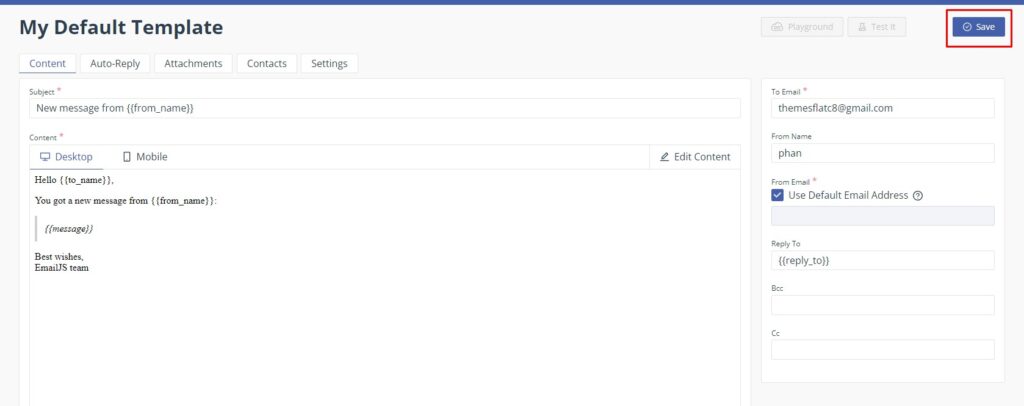
- Fill in 4 values in dataContact.js file

- Those fields are taken from where you created the email service previously
- Result
Credits & Official Documentation
We’ve used the following resources as listed. These are some awesome creation and we are thankful to the community.
- Photos
- All images are just used for preview purpose only and NOT included in the final purchase files.
- Fonts & Icons
- Font-Awesome
- Manrope is available for free on Google fonts.
- Poppins is available for free on Google fonts.
- Azeret Mono is available for free on Google fonts.
- Icomoon
- Javascript
- NextJS (https://nextjs.org/)
- React (https://www.npmjs.com/package/react)
- Chat.js (https://www.chartjs.org/)
- Swiper (https://swiperjs.com/)
- SASS (https://sass-lang.com/)
- Wowjs (https://wowjs.uk/)
Support
If you have any question need support create ticket id https://themesflat.ticksy.com/ I will ready support for you. Thank so much
Stay Awesome!
Changelog
“version”: “0.1.0”, January 24, 2025
- Initial released